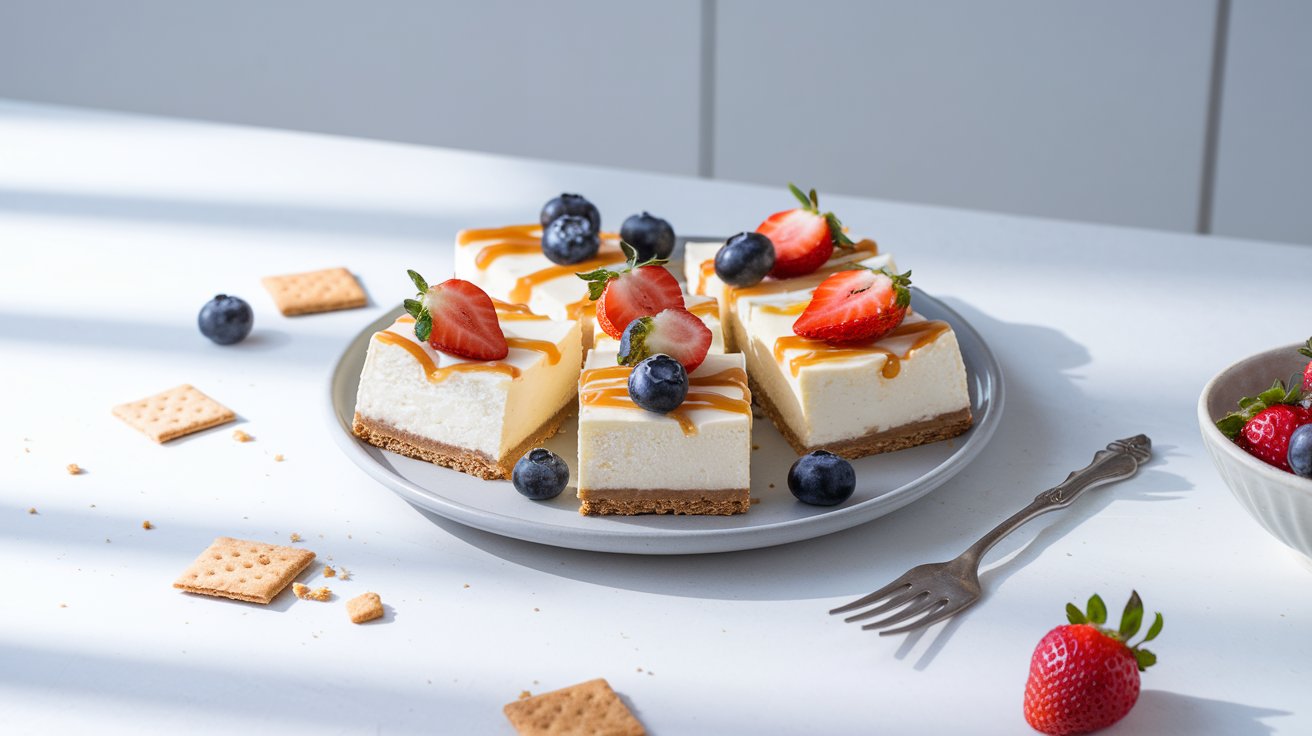
No-Bake Cheesecake Bars: A Creamy, Dreamy Dessert Made Easy
If you’re looking for a dessert that’s as impressive as it is easy to make, no-bake cheesecake bars are your answer. These creamy, tangy bars with a buttery graham cracker crust require zero oven time and minimal effort.
Perfect for parties, potlucks, or just treating yourself, they’re a no-fail dessert that everyone will adore.
Ingredients:
For the Crust:
- 2 cups graham cracker crumbs (about 14 full crackers)
- 1/2 cup unsalted butter, melted
- 2 tablespoons sugar (optional)
For the Cheesecake Filling:
- 16 oz (2 blocks) cream cheese, softened
- 1 cup powdered sugar
- 1 teaspoon vanilla extract
- 1 cup heavy whipping cream, chilled
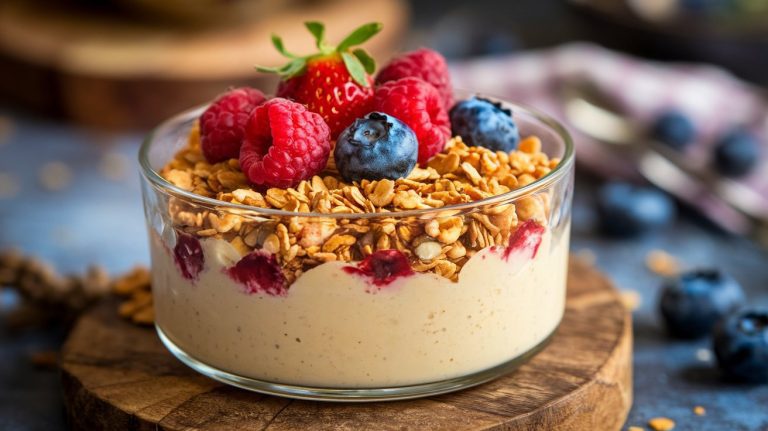
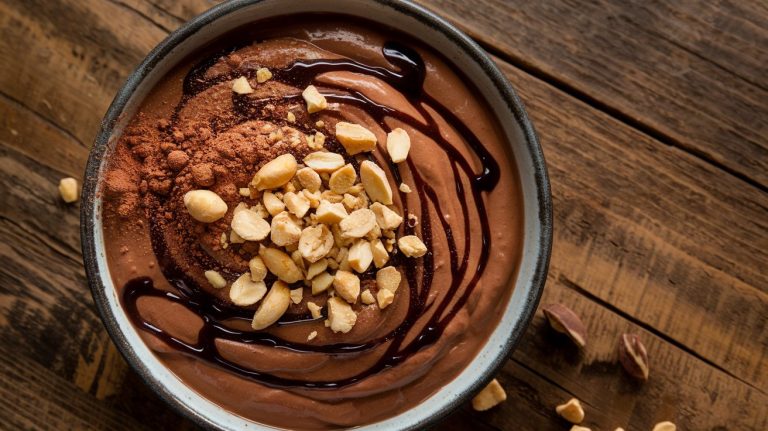
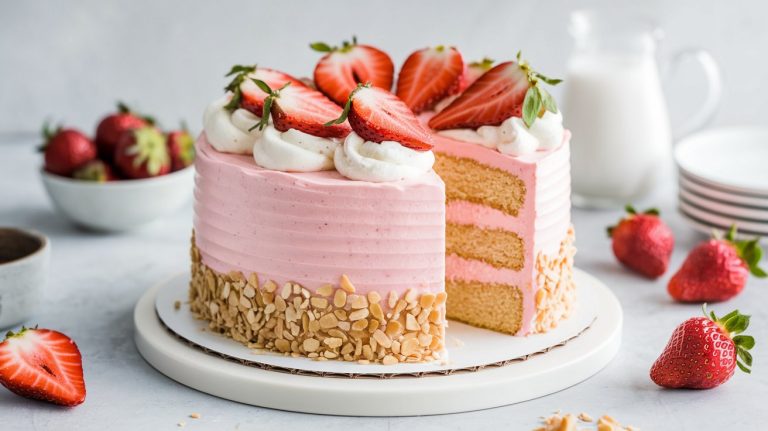
For the Topping (Optional):
- Fresh fruit (strawberries, blueberries, raspberries, etc.)
- Chocolate ganache or caramel drizzle
- Crushed graham crackers for garnish
How to Make No-Bake Cheesecake Bars:
Step 1: Prepare the Crust
- Crush the crackers: Use a food processor to pulse the graham crackers into fine crumbs. Alternatively, place them in a zip-top bag and crush with a rolling pin.
- Combine ingredients: In a bowl, mix the crumbs, melted butter, and sugar (if using) until the mixture resembles wet sand.
- Form the crust: Press the mixture firmly into the bottom of an 8×8-inch pan lined with parchment paper. Use the back of a spoon or the bottom of a glass to ensure an even layer. Refrigerate for at least 20 minutes to set.
Step 2: Make the Filling
- Beat the cream cheese: In a large mixing bowl, beat the softened cream cheese with powdered sugar and vanilla extract until smooth and creamy.
- Whip the cream: In a separate bowl, whip the heavy cream until stiff peaks form. Ensure the cream is very cold for best results.
- Combine the two: Gently fold the whipped cream into the cream cheese mixture in batches. Use a spatula to avoid deflating the cream, ensuring a light and fluffy texture.
Step 3: Assemble the Bars
- Spread the cheesecake filling evenly over the chilled crust, smoothing the top with a spatula.
- Cover the pan with plastic wrap and refrigerate for at least 4 hours, or preferably overnight, to let the cheesecake set.
Step 4: Slice and Serve
- Once set, lift the cheesecake out of the pan using the parchment paper for easy slicing.
- Cut into squares or rectangles, wiping the knife clean between slices for neat edges.
- Add your desired toppings just before serving for a picture-perfect presentation.
Tips for Success:
- Room temperature cream cheese: Make sure your cream cheese is soft to prevent lumps in the filling.
- Chilled cream: Keep your heavy cream cold to ensure it whips up properly.
- Pack the crust: Press the crust firmly into the pan to prevent crumbling when slicing.
- Overnight chilling: For the best texture and flavor, allow the cheesecake bars to chill overnight.
Storage Information:
- Refrigerator: Store the bars in an airtight container for up to 5 days. Keep toppings separate if they’re perishable, like fresh fruit.
- Freezer: Wrap individual bars tightly in plastic wrap, then place in a freezer-safe container. They can be frozen for up to 2 months. To serve, thaw in the refrigerator overnight.
No-bake cheesecake bars are a dessert miracle—easy to make, endlessly customizable, and absolutely delicious. Whether you stick to the classic recipe or get creative with toppings, these bars will be the star of any dessert spread. Enjoy! 😊